Introduction
This posting walks through the process of creating a managed metadata open term set, that is, a term set to which users can add terms. This posting starts out by creating a new term set group, adding a new term set to this group and then adding a few terms. Next, the posting walks through adding a new managed metadata column to the list and configuring it for the new term set you created and also configuring it as an open term set. Lastly, the posting walks through editing this column for a list item and adding a new term to the term set. This posting assumes that a list has already been created.
Procedure
- Create a new "open" term set
- Launch Central Administration.
- Navigate to: Application Management > Manage service applications.
- Click on Managed Metadata Service.
- In the Taxonomy Term Store at right, hover the cursor over Managed Metadata Service, and then click the down arrow that appears.
- Select New Group.
- Enter a name for the new group. For this posting, this will be TEST.
- Hover the cursor over the name of the new group, and then select New Term Set.
- Enter a name for the new term set. For this posting, this will be MyTermSet.
- Select the new term set.
- On the General tab at right, look for the Submission Policy setting and then select the Open option:
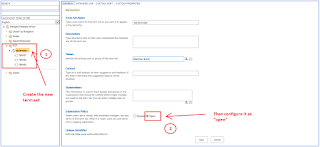
- At the bottom of this page, click the Save button.
- Hover the cursor over the new term set name, and then select Create Term.
- Enter a name for this term.
- Create additional terms as needed.
- Add metadata column to list
- Navigate to the target list.
- Select the LIST ribbon at top.
- On the LIST ribbon, in the Settings group, click the List Settings button.
- Scroll down to the Columns section, and then click on the Create column link.
- In the Name and Type group, select the Managed Metadata option:
 .
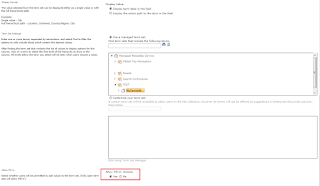
. - Scroll down to the Term Set Settings group, and then select the Use a managed term set option (this is selected by default).
- In the term set box, expand: Managed Metadata Service > [Your new term group] > [your new term set].
- Select your new term set.
- Scroll a little further down to the Allow Fill-in group, and then select the Yes option:
- Click on the OK button at bottom.
- Add a new term
- Navigate to the target list.
- Select an item.
- On the ITEM ribbon, in the Manage group, click on the Edit Item button.
- Look for the managed metadata column, and then click on the tag icon.
- Select the term set name, and then click on the Add New Item link at top:

- Enter a name for the new term. For this posting, this will be MyNewTerm.
- Click to the left of the term.
- Click OK.
- Verify new term
- Launch Central Administration.
- Navigate to: Application Management > Manage service applications.
- Click on Managed Metadata Service.
- Expand: Managed Metadata Service > [your new term group] > [your new term set] > [your new term].


References
- Plan terms and term sets in SharePoint Server 2013
- Plan to share term sets and content types in SharePoint Server 2013
- Open and Closed Term Sets Inside SharePoint 2013
- SharePoint 2013- Create term set, terms, Assign managed metadata to a list/library column
- Create and manage terms in a term set
- Open and Closed Term Sets
- How to set a Managed Metadata Open Term Set in SharePoint 2013